
 AntoineAsphalt.ca
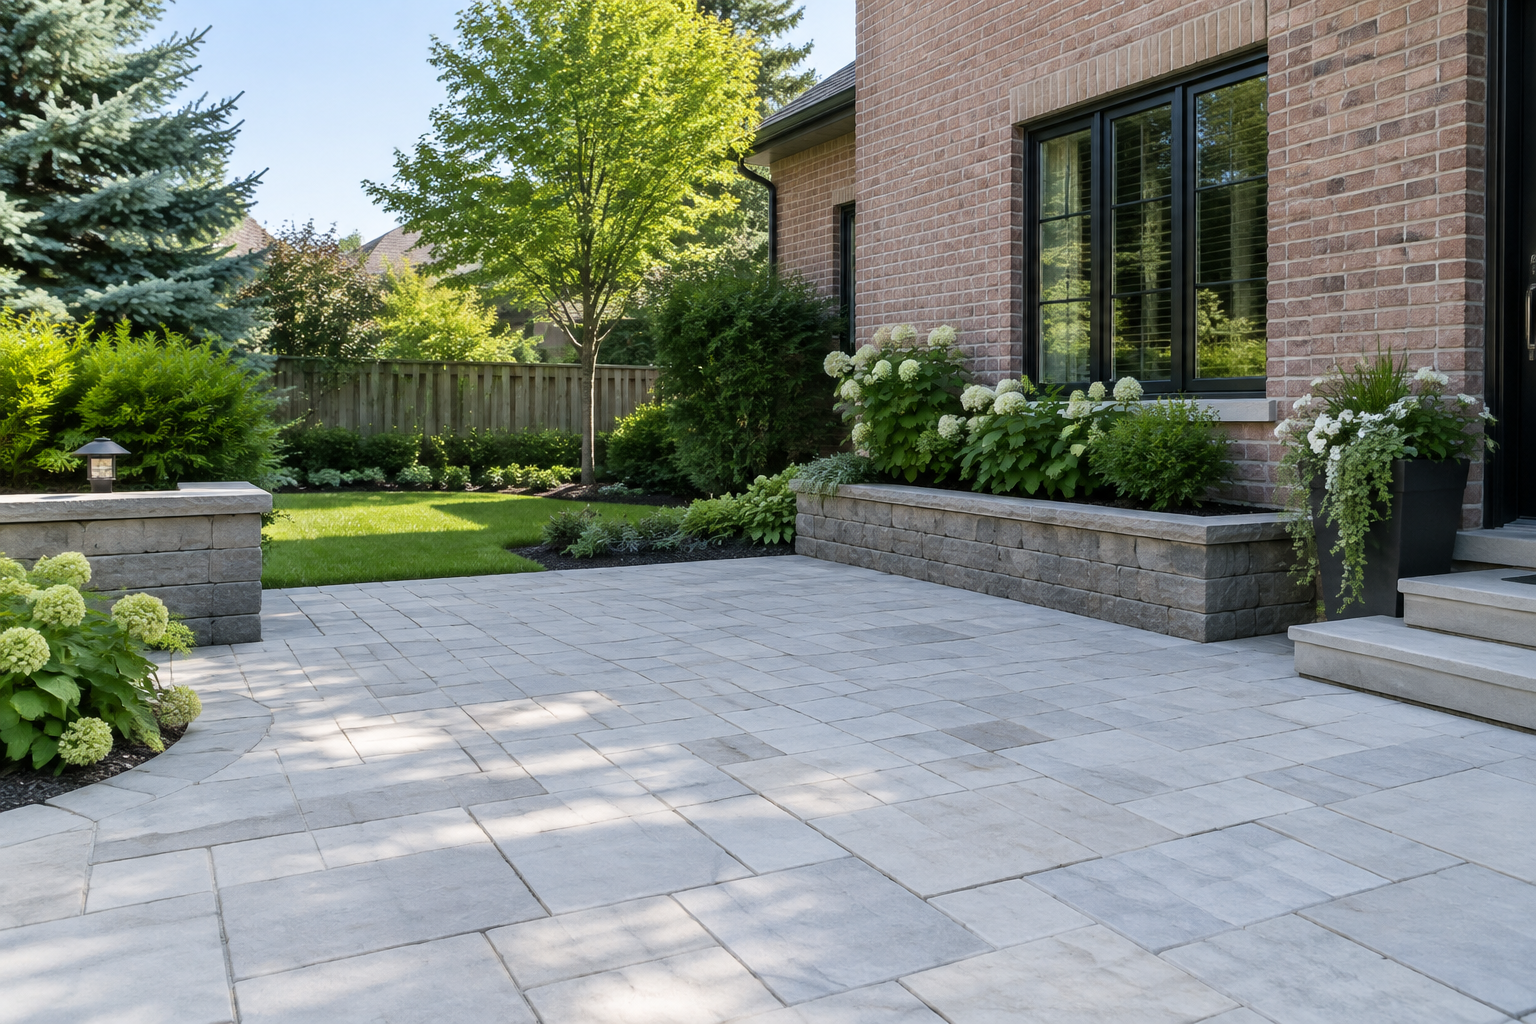
Interlock Cleaning, Re-Sanding & Sealing in Hamilton
A clean surface begins with the right diagnosis. Dirt, stains, joint loss and efflorescence do not respond to the same treatment. We choose cleaning and any finish for the actual paver and its condition, while recognizing when movement needs repair instead.
Step 1 of 6 — Firm soil base
Interlock cleaning, re-sanding and sealing are quoted on site. The appropriate process depends on surface type, stain, joint condition and whether the paving is dry and stable. Sealing can change appearance and ease some cleaning, but will not fix settlement or drainage. Your exact price comes from an on-site quote.
A surface made for the way you use it
- A sound but weathered patio with accumulated dirt
- Pavers whose joint sand has been washed or worn away
- A driveway with oil, rust, organic or tire-mark staining that needs evaluation
- A homeowner comparing a natural finish with an enhanced wet-look appearance
Design options
See the pattern and the detail
Pick a Techo-Bloc or Unilock stone, then choose its colour, laying pattern and border. Every layout is drawn to scale from the manufacturer's real unit sizes.
This preview is drawn to scale from the manufacturer's real unit sizes, so the colour, pattern and border match what arrives on site.
Techo-Bloc · Paver
Blu 80
The Blu look, 80 mm thick for driveways.
Rated by the manufacturer for residential driveways and light vehicular use.
- Units in this pattern
- 6½×13 in
- Thickness
- 80 mm
- Use
- DrivewaysRated
- Patios & walkwaysSuitable
Illustrations are drawn to scale from published unit sizes; on-screen colours and textures are approximations and vary with screen, production batch and light — we bring physical samples to your design consultation. Techo-Bloc® and Unilock® and their product names are trademarks of their respective owners; Antoine Landscape Contractors is an independent installer.
- Clean a small test area before choosing a product or pressure setting for the whole surface.
- Select natural or matte versus enhanced appearance using actual dry and wet samples.
- Re-sand compatible joints after cleaning and proper drying, not before.
- Choose the sealer for the exact paver and maintenance commitment, not a universal promise.
Plan the investment
Cleaning & Sealing depend on the condition, materials, access and drainage; no fixed rate applies. Your exact price comes from an on-site quote.
Request an on-site quote →What shapes the quote
- Surface material, age, existing coating and stain types need inspection.
- Joint depth, loss and moving edges determine re-sanding scope.
- Sealer choice, drying conditions and access affect the visit.
- Settlement and drainage corrections are separate from cosmetic cleaning.
Built from the ground up
What's under an interlock surface
Everything below the pavers — the compacted stone base, the sand bed and the edging — is what keeps the surface flat for decades.
Driveway: Typical dig: about 12–16 in below the finished surface.
- Pavers: Usually 80 mm (3⅛ in) thick for vehicle loads. Thicker units spread tire loads and resist cracking.
- Joint sand: Polymeric sand swept into every joint. Locks the pavers together and keeps out weeds and ants.
- Bedding layer: About 1 in of screeded sand. A flat, even bed the pavers are set into — never used to fix low spots.
- Granular base: 8–12 in of crushed stone, compacted in lifts. This is what carries the weight. Compacting in thin layers stops it settling later.
- Geotextile fabric: Where the soil needs it (common on Hamilton clay). Keeps the stone base from sinking into soft clay over time.
- Native soil: Excavated, levelled and compacted. A firm, properly sloped subgrade so water drains instead of pooling.
- Edge restraint: Spiked along every open edge. Holds the outer pavers so the surface can't creep apart.
Patio & walkway: Typical dig: about 9–12 in below the finished surface.
- Pavers or slabs: Typically 50–60 mm (2–2⅜ in) thick. Foot traffic needs less thickness than a driveway.
- Joint sand: Polymeric sand swept into every joint. Locks the units together and keeps out weeds and ants.
- Bedding layer: About 1 in of screeded sand. A flat, even bed the pavers are set into.
- Granular base: 6–8 in of crushed stone, compacted in lifts. Spreads the load and stops low spots forming.
- Geotextile fabric: Where the soil needs it (common on Hamilton clay). Keeps the stone base from mixing into soft clay.
- Native soil: Excavated, levelled and compacted. A firm, properly sloped subgrade.
- Edge restraint: Spiked along every open edge. Holds the outer pavers so the surface can't creep apart.
Permeable: Usually deeper than standard interlock — the stone layers also store rainwater. Depth is set by the design.
- Permeable pavers: Units with wider joints that let water through. Rain soaks in at the surface instead of running off.
- Joint aggregate: Small clear chip — not polymeric sand. Open joints keep the surface draining.
- Bedding layer: About 2 in of small clear chip. Sets the pavers while letting water pass straight through.
- Open-graded stone: Clean, washed stone with open spaces. Holds water temporarily while it soaks into the ground.
- Sub-base reservoir: Larger clean stone — depth set by design. Extra storage for heavy rain; an underdrain carries overflow away where clay drains slowly.
- Native soil: Tested and graded, left uncompacted where it should absorb water. Water infiltrates here, or drains through the underdrain on clay.
- Edge restraint: Spiked along every open edge. Holds the outer pavers so the surface can't creep apart.
Why the base matters in an Ontario winter
| Granular base | 6–8 in, compacted in lifts |
|---|---|
| Paver thickness | Typically 50–60 mm |
| Bedding | Approximately 1 in screeded layer where applicable |
| Edge restraint | Matched to the pavement edge and adjoining material |
| Joints | Polymeric sand where compatible with the selected product |
| Slope | Direct surface water away from the home; confirm site grades |
Start with an honest surface assessment
We inspect the paver type, surface texture, colour and condition of the joints before selecting a cleaner. A stable, weathered patio can often be refreshed; a patio with rocking units or a sunken area needs structural work first. The same pressure that removes algae from one durable face may scar a softer stone or blow out joints on another. A discreet test patch can reveal how the material reacts and whether an existing coating will complicate the finish. Cleaning should not become an accidental repair bill.
Different stains, different expectations
Oil may soak into a porous paver, rust may need a specifically compatible treatment, and leaf tannins or algae may respond to gentler cleaning. Tire marks and barbecue spills are not identical. Some stains may lighten rather than disappear entirely, especially after a long time or a prior coating. We do not promise that every mark can be erased. First identify the likely source, choose a surface-appropriate product and test it before treating a larger area. Nearby planting and drainage outlets need protection from runoff.
Understanding the white haze
Efflorescence is a natural white mineral haze that can appear on newer concrete pavers as moisture brings salts to the surface. It often fades with weathering. An unsuitable harsh cleaner can damage the face or make the appearance less even. Where cleaning is appropriate, use a product intended for the exact paver and follow its maker's instructions. A white deposit is not automatically efflorescence: old sealer, de-icer residue and other materials can look similar. Identify it before treating it.
Renew joints after cleaning
Washing can remove loose or failing joint material. After the paving and joints are suitably dry, compatible polymeric sand can be installed to the selected manufacturer's directions, then activated as specified. This is not the same as simply sweeping material across a damp surface. Joint depth, width and edge condition matter. Weed growth and ant activity can reappear if organic material collects on top or the support beneath has gaps. If an edge is moving, repair its restraint before expecting new sand to hold a spreading field together.
Choose the finish deliberately
A natural or matte finish aims to preserve a relatively quiet appearance, while an enhanced or wet-look finish deepens colour. Film-forming products create a surface layer; penetrating products behave differently within the material. Those categories are general, not a guarantee that a particular sealer suits every paver. Test appearance in sunlight and shade, and check compatibility with existing coatings, texture and jointing. A glossy finish may not be a wise choice where slip resistance matters. Follow the sealer maker's specific preparation and application guidance.
Sealing has limits
A compatible sealer may alter appearance and make some cleaning easier, but it is not waterproofing for a failing base. It will not correct a low area, stop a poorly directed downspout or make a loose paver stable. It may require recoating periodically according to the particular sealer maker's guidance. Product choice and exposure affect maintenance; we do not invent a fixed universal schedule. If water sits in a sunken section, investigate repair and relevelling before applying a finish that could highlight the puddle.
Watch the weather window
Pavers and joints generally need to be dry enough for the chosen product, with a suitably dry forecast and temperatures within the maker's stated limits. A rushed application before rain can affect adhesion, appearance or joint activation. Shade and cool weather may lengthen drying even on a sunny-looking day. Plan foot and vehicle access during cleaning, jointing and curing, and keep irrigation from wetting the area at the wrong time. The exact sequencing comes from the selected products, not a blanket rule.
Spring and summer care
After winter, sweep grit and inspect displaced joint sand, edges and drainage. Clean organic build-up before it becomes a stubborn stain, but do not use extreme pressure that strips the joints. In summer, treat food or oil spills promptly with a compatible method and keep soil from planting beds off the paving. If weeds start at the edge, check how mulch and soil are moving onto the surface. A good maintenance calendar pays attention to the source of dirt as well as the cleaning product.
Autumn and winter care
Remove fallen leaves before tannins sit on a damp patio for weeks. Clear gutters and downspouts so runoff does not repeatedly wash across the same joints. In winter use a plastic-edged tool or protected blade and de-icers according to the paver and sealer makers' guidance. Avoid piling salty snow against delicate stone or into garden beds. When thaw arrives, look for movement and recurring ponding. A cleaning visit is useful only after structural or drainage problems have been separated from cosmetic wear.
Do I need approval?
Cleaning and care should keep runoff and product residue out of neighbouring property and drainage systems. Follow product instructions and confirm any local discharge requirements with your municipality.
Confirm current requirements with your municipality.
From site visit to final joint
- 01
Design consult & measure
- 02
Survey, grades & approvals
- 03
Ontario One Call locates
- 04
Excavate to the right depth
- 05
Geotextile where needed; compact granular base in lifts
- 06
Bedding & screeding
- 07
Lay pavers, cut & set borders
- 08
Edge restraint & polymeric sand
- 09
Final compaction, cleanup & walkthrough
Materials we install
Techo-Bloc, Unilock, Permacon pavers and slabs, natural stone and porcelain. Product selection depends on the intended load, finish and manufacturer's installation guidance.
Keep the surface working well
- Sweep leaves and grit regularly, especially before prolonged damp weather.
- Treat spills with a compatible tested cleaner and follow the paver maker's directions.
- Inspect joints, edges and drainage after winter; recoat only as the selected sealer maker advises.
Common questions answered
Cleaning & Sealing questions
How much does interlock cleaning and sealing cost?
It is quoted on site after inspecting size, material, stains, joints and any existing coating. Your exact price comes from an on-site quote.
Can every stain be removed?
No. Oil, rust, organic marks and tire residue need different treatments, and deeply absorbed stains may only lighten.
What is the white haze on new pavers?
It may be efflorescence, a natural mineral deposit that often fades; identify it before using a suitable treatment.
When should polymeric sand be replaced?
After joint loss is assessed and cleaning is complete, if the paving and joint design are compatible with the selected sand.
Will sealing stop weeds and ants?
It does not remove the conditions that let debris, soil or movement open joints. Maintain joints and edges as well.
Should I choose matte or wet-look sealer?
Compare samples on your material and consider texture, sunlight and maintenance; product compatibility governs the choice.
How often should interlock be resealed?
Follow the selected sealer maker's guidance, surface exposure and actual wear rather than a universal interval.
Can you seal sunken pavers?
Sealing will not level the paving. Investigate drainage and support, then repair the movement before finishing.
Complete the landscape
Driveways
Explore →Patios
Explore →Walkways
Explore →Steps & Entrances
Explore →Pool Surrounds
Explore →Permeable Pavers
Explore →Natural Stone & Porcelain
Explore →Repair & Relevelling
Explore →Add a fire feature
Explore →Retaining walls
Explore →Decks
Explore →Fences
Explore →Christmas lighting
Explore →Design & build
Explore →Working in Hamilton, Burlington, Oakville and Ancaster, including surrounding neighbourhoods and communities.
Tell us about your cleaning & sealing
Share the address, approximate dimensions and what you want to change. Your exact price comes from an on-site quote.